
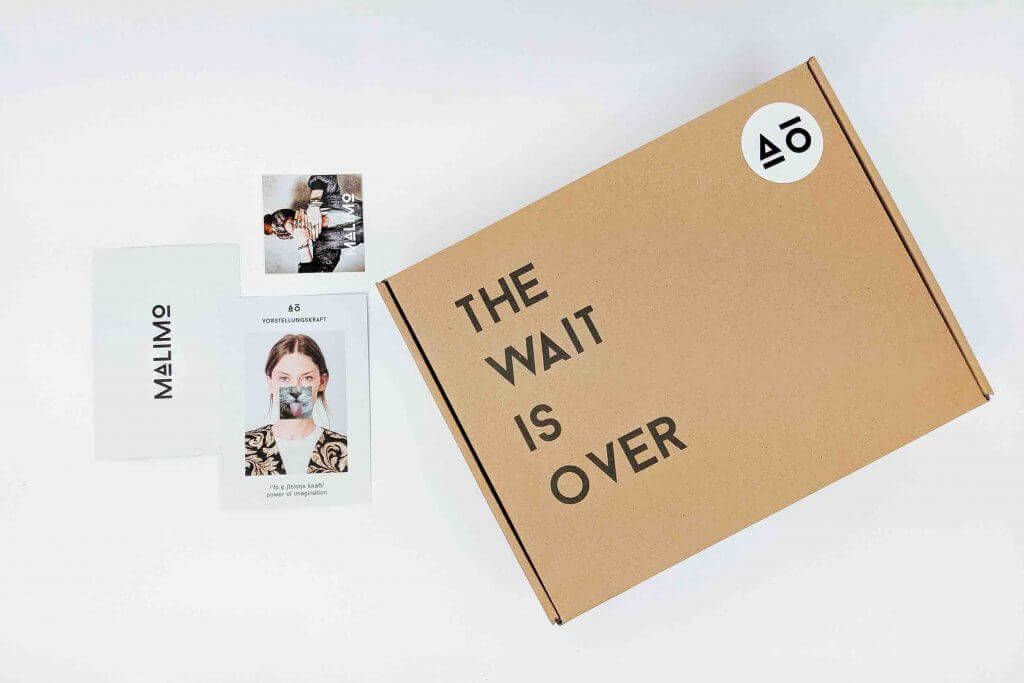
Creating high-quality packaging boxes involves a detailed process to ensure functionality and aesthetics. Whether you are in the packaging industry or a DIY enthusiast, understanding the steps involved in making a packaging box can help you achieve professional results. In this guide, we will walk you through the process of making a packaging box, from selecting materials to final assembly.
Step 1: Select the Right Materials
The first step in making a packaging box is choosing the right materials. Eco-friendly options such as recycled paper and biodegradable cardboard are excellent choices for sustainable packaging. Ensure that the materials you select are sturdy enough to protect the contents of the box during transportation and storage. The durability of the materials is crucial in maintaining the integrity of the packaging box, especially during shipping.
Step 2: Design Your Box
Designing the box is a crucial step that involves deciding on the dimensions, shape, and style of the box. Use design software to create a template or download a pre-made template that suits your needs. Make sure to include features such as flaps, slots, and tabs in your design for easy assembly. The design phase also allows for creativity in the appearance of the packaging box, which can enhance brand recognition and appeal to customers.
Step 3: Cut the Materials
Once you have your design ready, it’s time to cut the materials. Use a cutting machine or a utility knife to carefully cut out the box template from the chosen material. Precision is key in this step to ensure that all parts fit together perfectly. Accurate cutting prevents material wastage and ensures that the assembly process will be smooth and efficient.
Step 4: Print and Customize
Printing and customizing the box is where you can get creative. If you are using a printing machine, print your designs, logos, and any other information directly onto the box material. For a more personal touch, consider adding stickers, stamps, or hand-drawn elements. Customization not only enhances the visual appeal of the packaging box but also serves as a marketing tool by showcasing brand identity.
Step 5: Score and Fold
Scoring the box involves making shallow cuts along the fold lines to ensure clean, sharp edges. Use a scoring tool or a bone folder to gently crease the fold lines. Then, carefully fold along the scored lines to shape the box. Proper scoring and folding are essential for creating a professional-looking box with crisp edges and corners.
Step 6: Assemble the Box
Assembling the box involves joining all the pieces together. Use adhesive tape or glue to secure the flaps and tabs in place. Make sure to apply the adhesive evenly to avoid any gaps or misalignments. Press firmly along the edges to ensure a strong bond. This step requires attention to detail to ensure that the box is sturdy and can hold the contents securely.
Step 7: Quality Check
Before finalizing the box, conduct a thorough quality check. Ensure that all parts are securely attached, the box is symmetrical, and there are no visible defects. This step is crucial to maintaining high standards of packaging quality. A rigorous quality check process helps in identifying any flaws or weaknesses that could compromise the packaging’s functionality.
Step 8: Pack and Ship
Once the box is assembled and has passed the quality check, it’s ready to be packed and shipped. Place your product inside the box, add any necessary protective padding, and seal the box securely. Label the box with shipping information and any handling instructions. Proper packing and labeling are essential for ensuring that the contents reach their destination safely and without damage.
Conclusion
Making a packaging box involves a series of carefully executed steps, from selecting materials to final assembly. By following this guide, you can create high-quality packaging boxes that are both functional and aesthetically pleasing. Whether for personal use or commercial purposes, a well-made packaging box reflects the care and attention to detail that goes into your product. The process of creating packaging boxes not only involves technical skills but also an understanding of design and branding to create a product that stands out in the market.